How to Build a Self-Service Platform on Upbound: Day 0
June 7, 2023
Read time: 5 mins
Organizations are increasingly tasking a central team to build self-service developer platforms. These platforms are built above AWS, Azure, or GCP with the goal to accelerate app teams’ velocity by enabling them to select from a list of templates that have already baked together a set cloud infrastructure, preconfigured and compliant to an organization’s internal policies and requirements.
Creating a resource in the cloud can seem simple at first, but quickly the complexity compounds: what VPC, IAM roles, and security groups need to be set up? What does the security team think about opening an API gateway ingress point? What policy concerns are there from naming to access? Suddenly that need for a cloud resource has become many steps across several teams with multi-week approval cycles. Crossplane allows you to define a new abstraction—your own custom API—that provides a simple interface. A central platform team can define and implement those concerns, alleviating app teams from needing to think about these things and cutting down on cross-team approvals in the process.
Many organizations, such as Millennium Bank, are choosing Crossplane to power their self-service platforms. Crossplane is a flexible, Kubernetes-native framework that allows users to build their own abstractions above the cloud. In this post, we will demonstrate how you can get started building a self-service platform above GCP using Upbound, which allows you to offload the job of operating Crossplane to Upbound so you can focus on what matters—building your platform!
Create your first control plane
Get started by creating an account on Upbound (which offers a free 30 day trial). Upbound will prompt you to create a new organization and then start your free trial. After you start your free trial, Upbound offers you a few control plane configurations as a starting point. Select the GCP-based configuration.
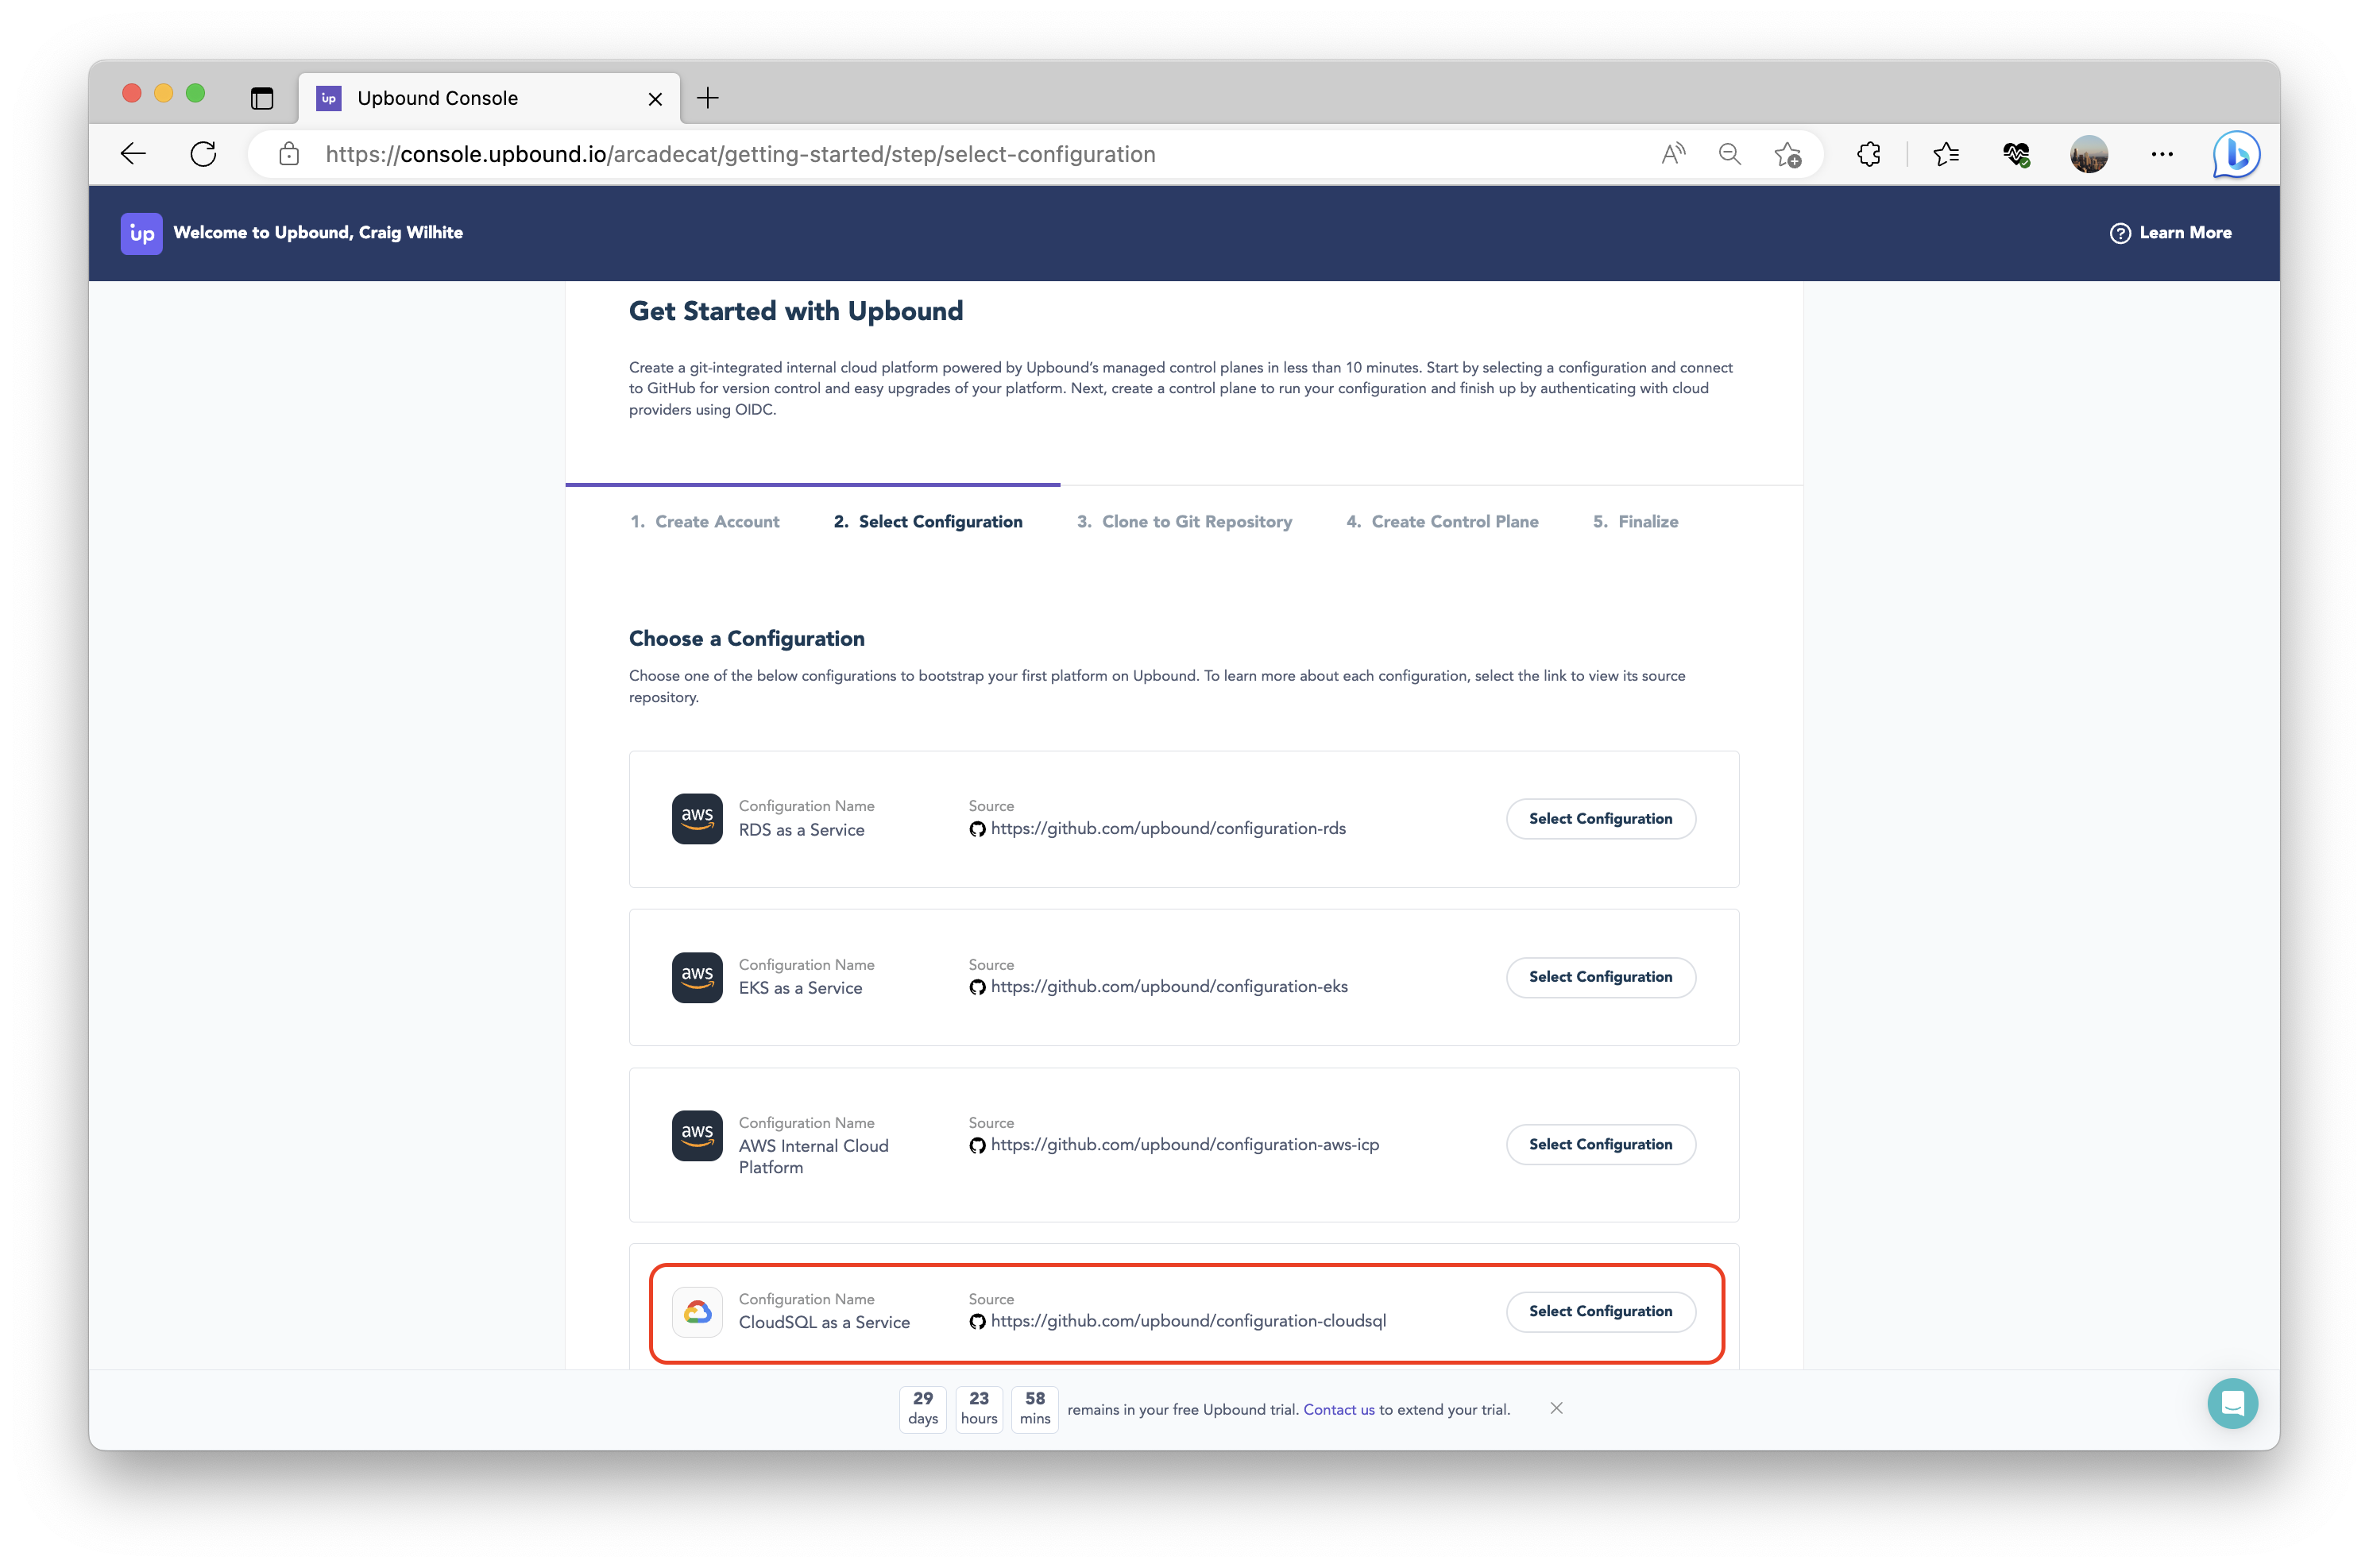
Complete the remainder of the flow:
- Connect your Upbound account to GitHub so it can clone a repo that holds the source definition of your control plane’s configuration.
- Create your first control plane, which will be configured with the package you selected earlier.
- Connect your control plane to your GCP cloud account via Upbound Identity, an OIDC-based auth mechanism. For a step-by-step guide on how to do this, see the GCP quickstart.
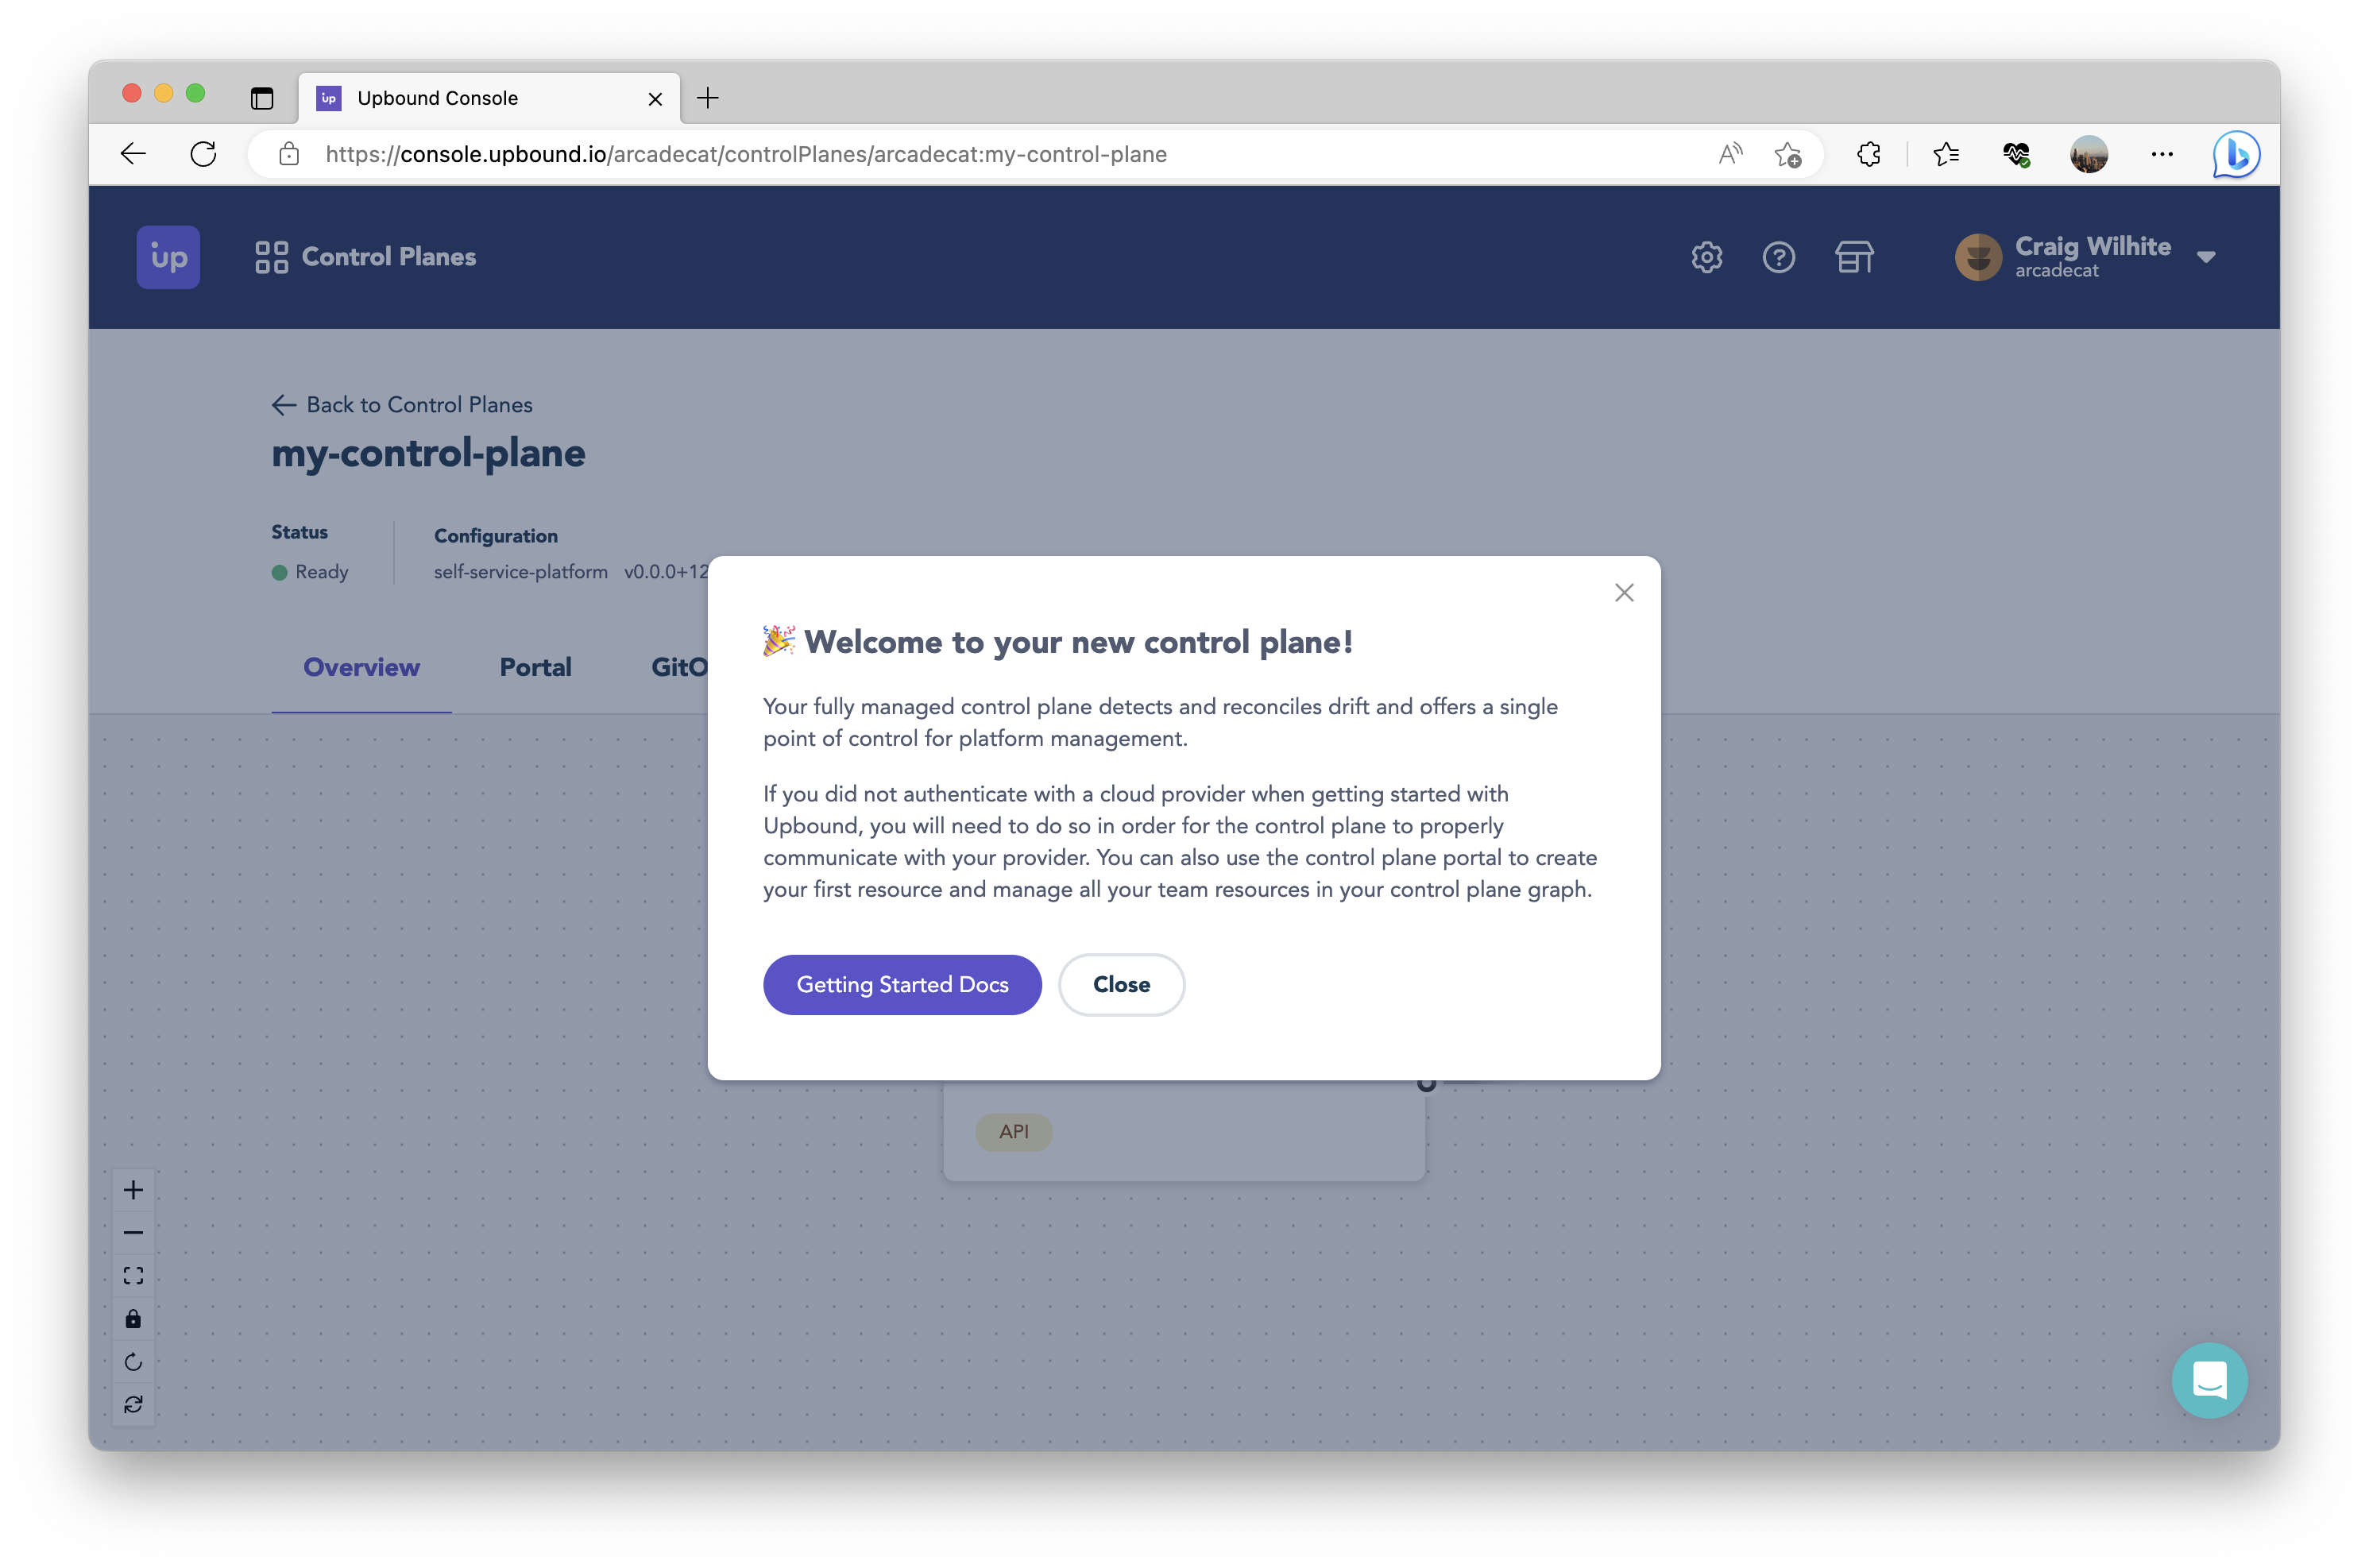
Once you have finished setup, launch into the Upbound Console.
Taking inventory
At this point, you have:
- Created and configured your first control plane, with a definition that is sourced directly from git.
- It is connected to your GCP account.
- In your git repo, you will find a “starter” API already defined and which has been already installed on your control plane. You can use this API to create and manage PostgreSQL instances on GCP CloudSQL.
The Upbound Console is currently intended as a first-class experience for platform teams. Since our objective is to build a “self-service” platform, we need app teams to be able to use the API(s) offered by our control plane to provision resources on their own. The next two questions we will tackle are: “What if I want to offer APIs besides databases?” and “How can I enable my app teams to use these APIs?”
Expand your control plane’s capabilities
We will begin by answering the first question. Our control plane can provision PostgreSQL instances in GCP; what if you want to do more? You can add as many APIs and abstractions as you want to a given control plane. The configuration you picked in the “Get Started with Upbound” flow is meant to be a starting point. You are expected and encouraged to customize your control plane’s configuration by modifying what was scaffolded in your git repo. You can navigate to the git repo which sources your control plane’s configuration by going to the Dashboard > “Configurations” pane in the lower half of the screen > click the git repo hyperlink.
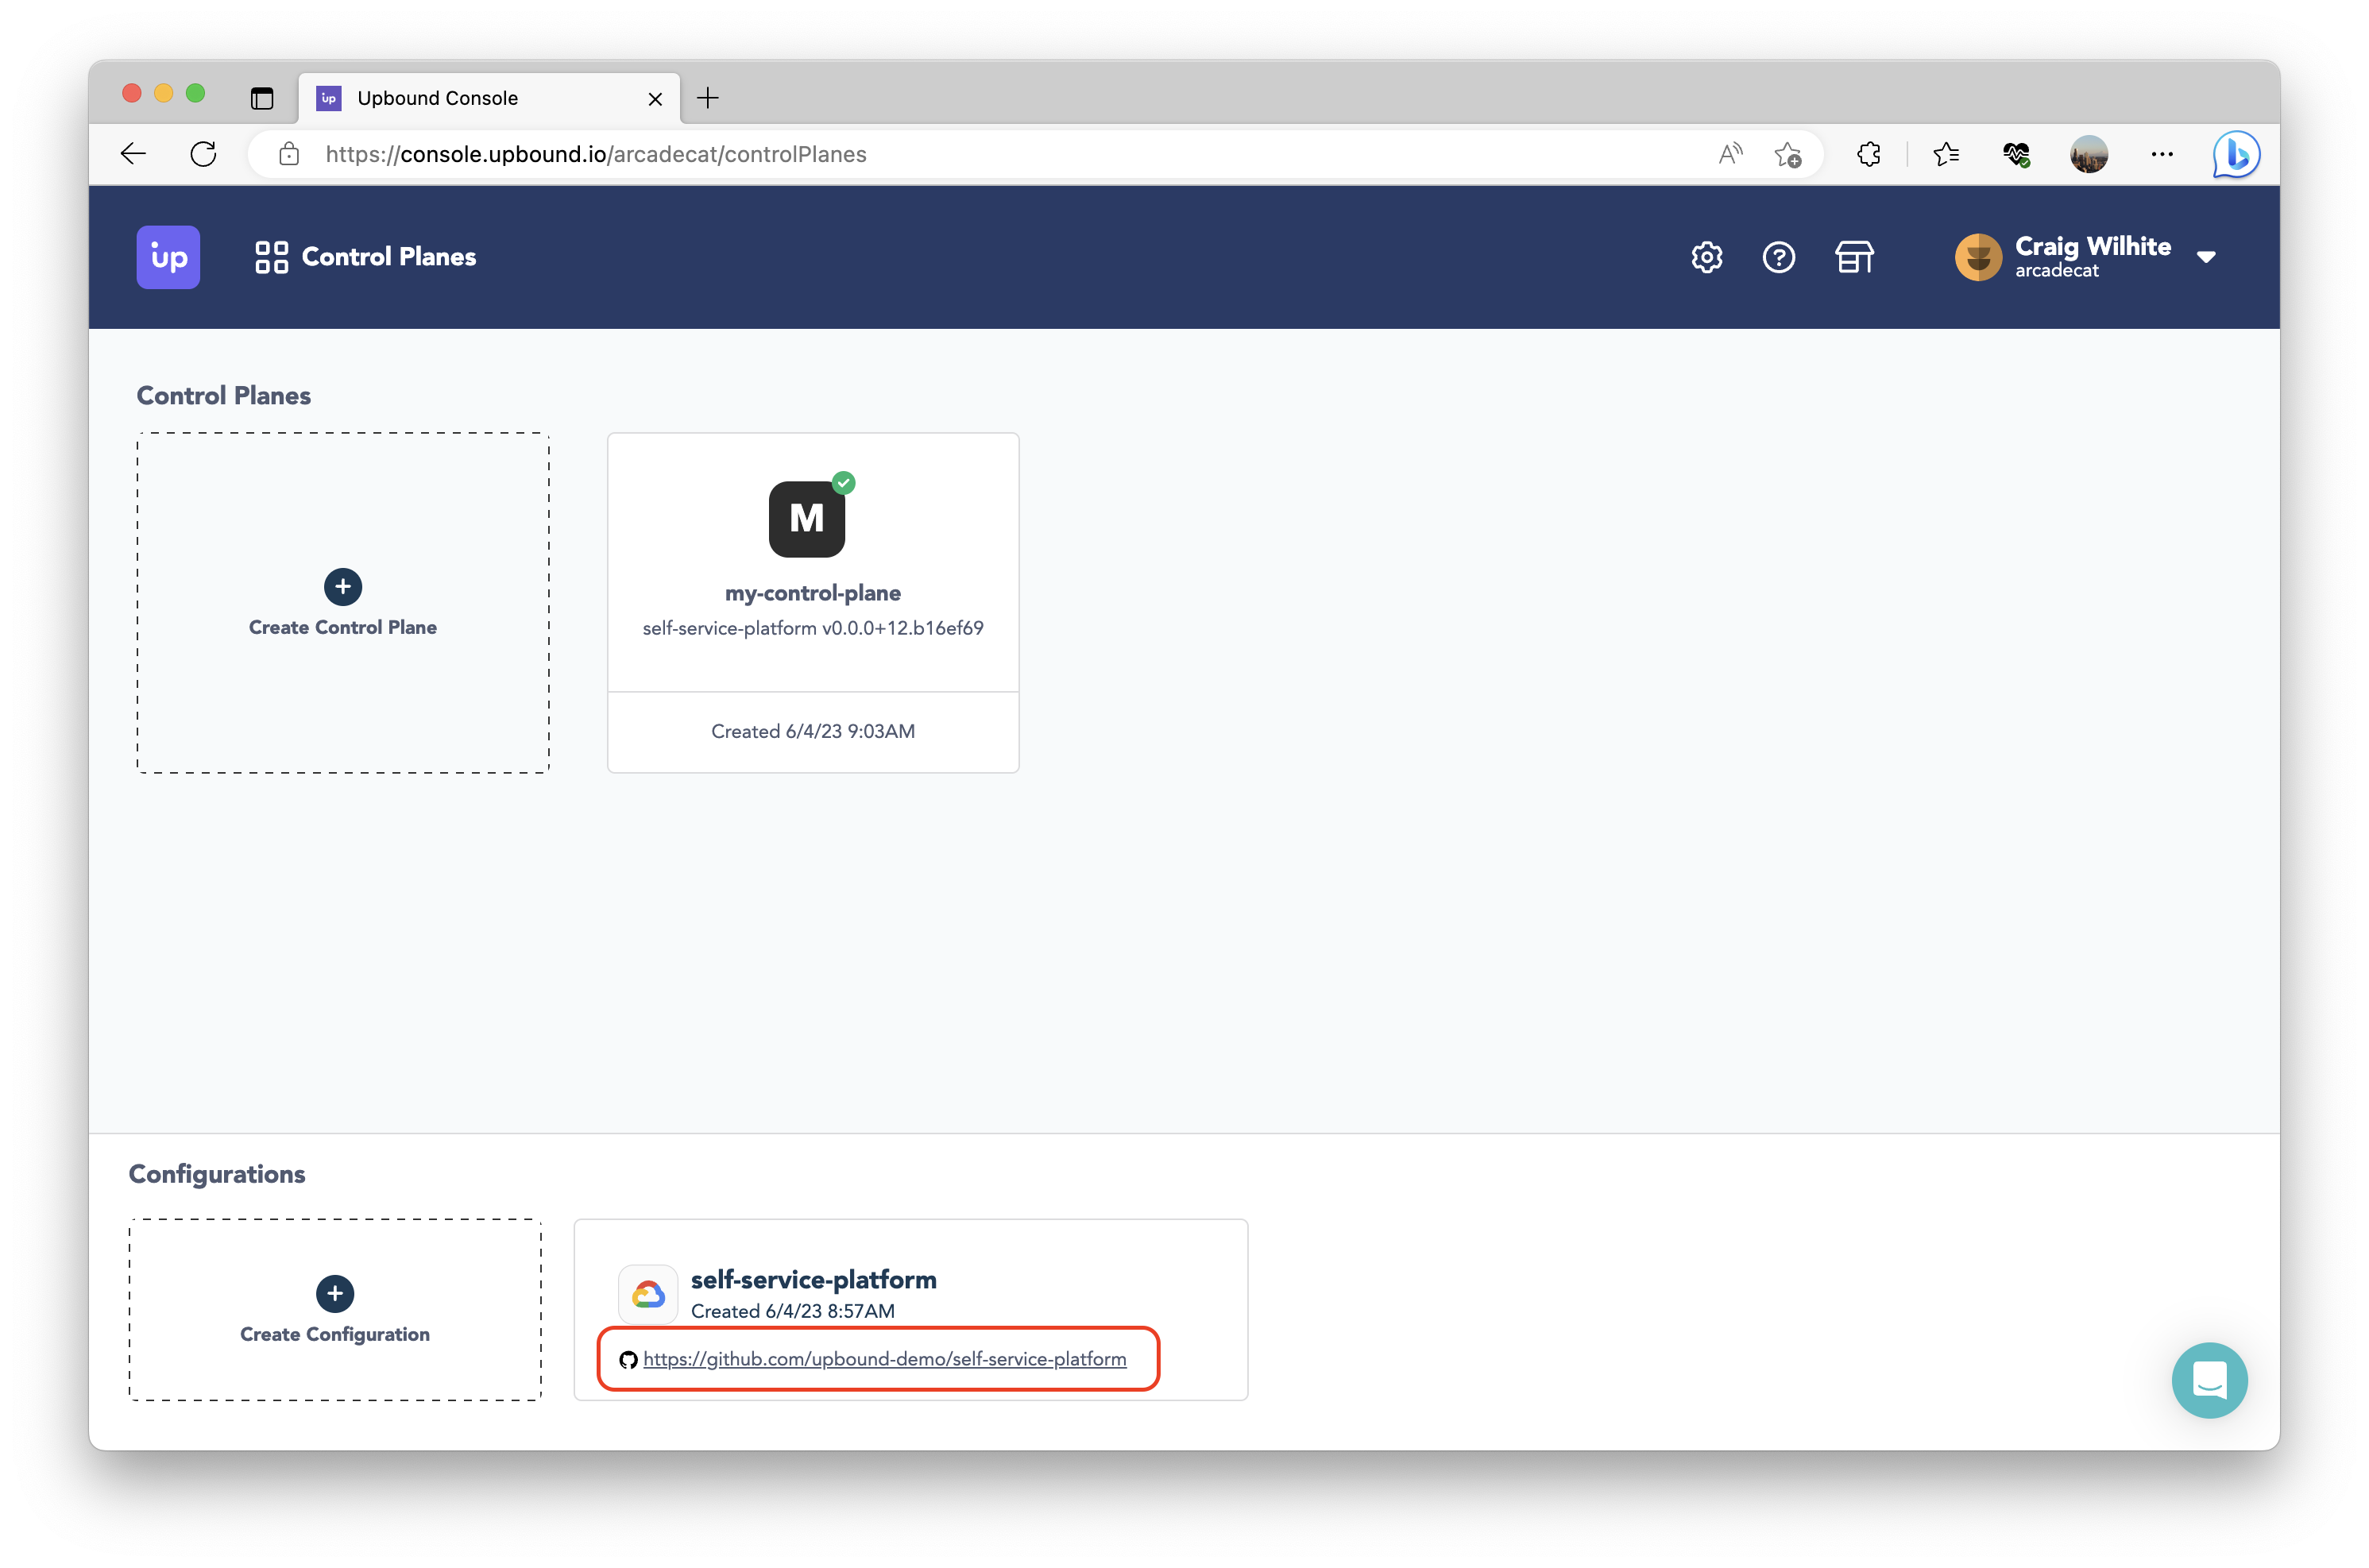
Clone your git repo to your machine. Go to the root of the cloned repo, where you will find a folder called APIs. This is where you can define new APIs with Crossplane–new CompositeResourceDefinitions (XRDs) and compositions (implementations for those XRDs). For this blog, we’ll define new APIs to create new Compute Engine instances and the associated network resource required. For brevity, you can copy the same changes made in this repo. The repo contains the following:
- Addition of two XRDs defining new virtual machine and network resources
- Two compositions that implement those resources, respectively
- Moved the postgres resource into its own folder for consistency
Once those changes have been committed to your synced repository, Upbound will automatically detect the commit and build a new package so you can update the definition installed on your control plane. Go back to your control plane explorer by clicking the control plane tile on the dashboard. Click the “Update available” button and confirm the update of your control plane’s configuration.
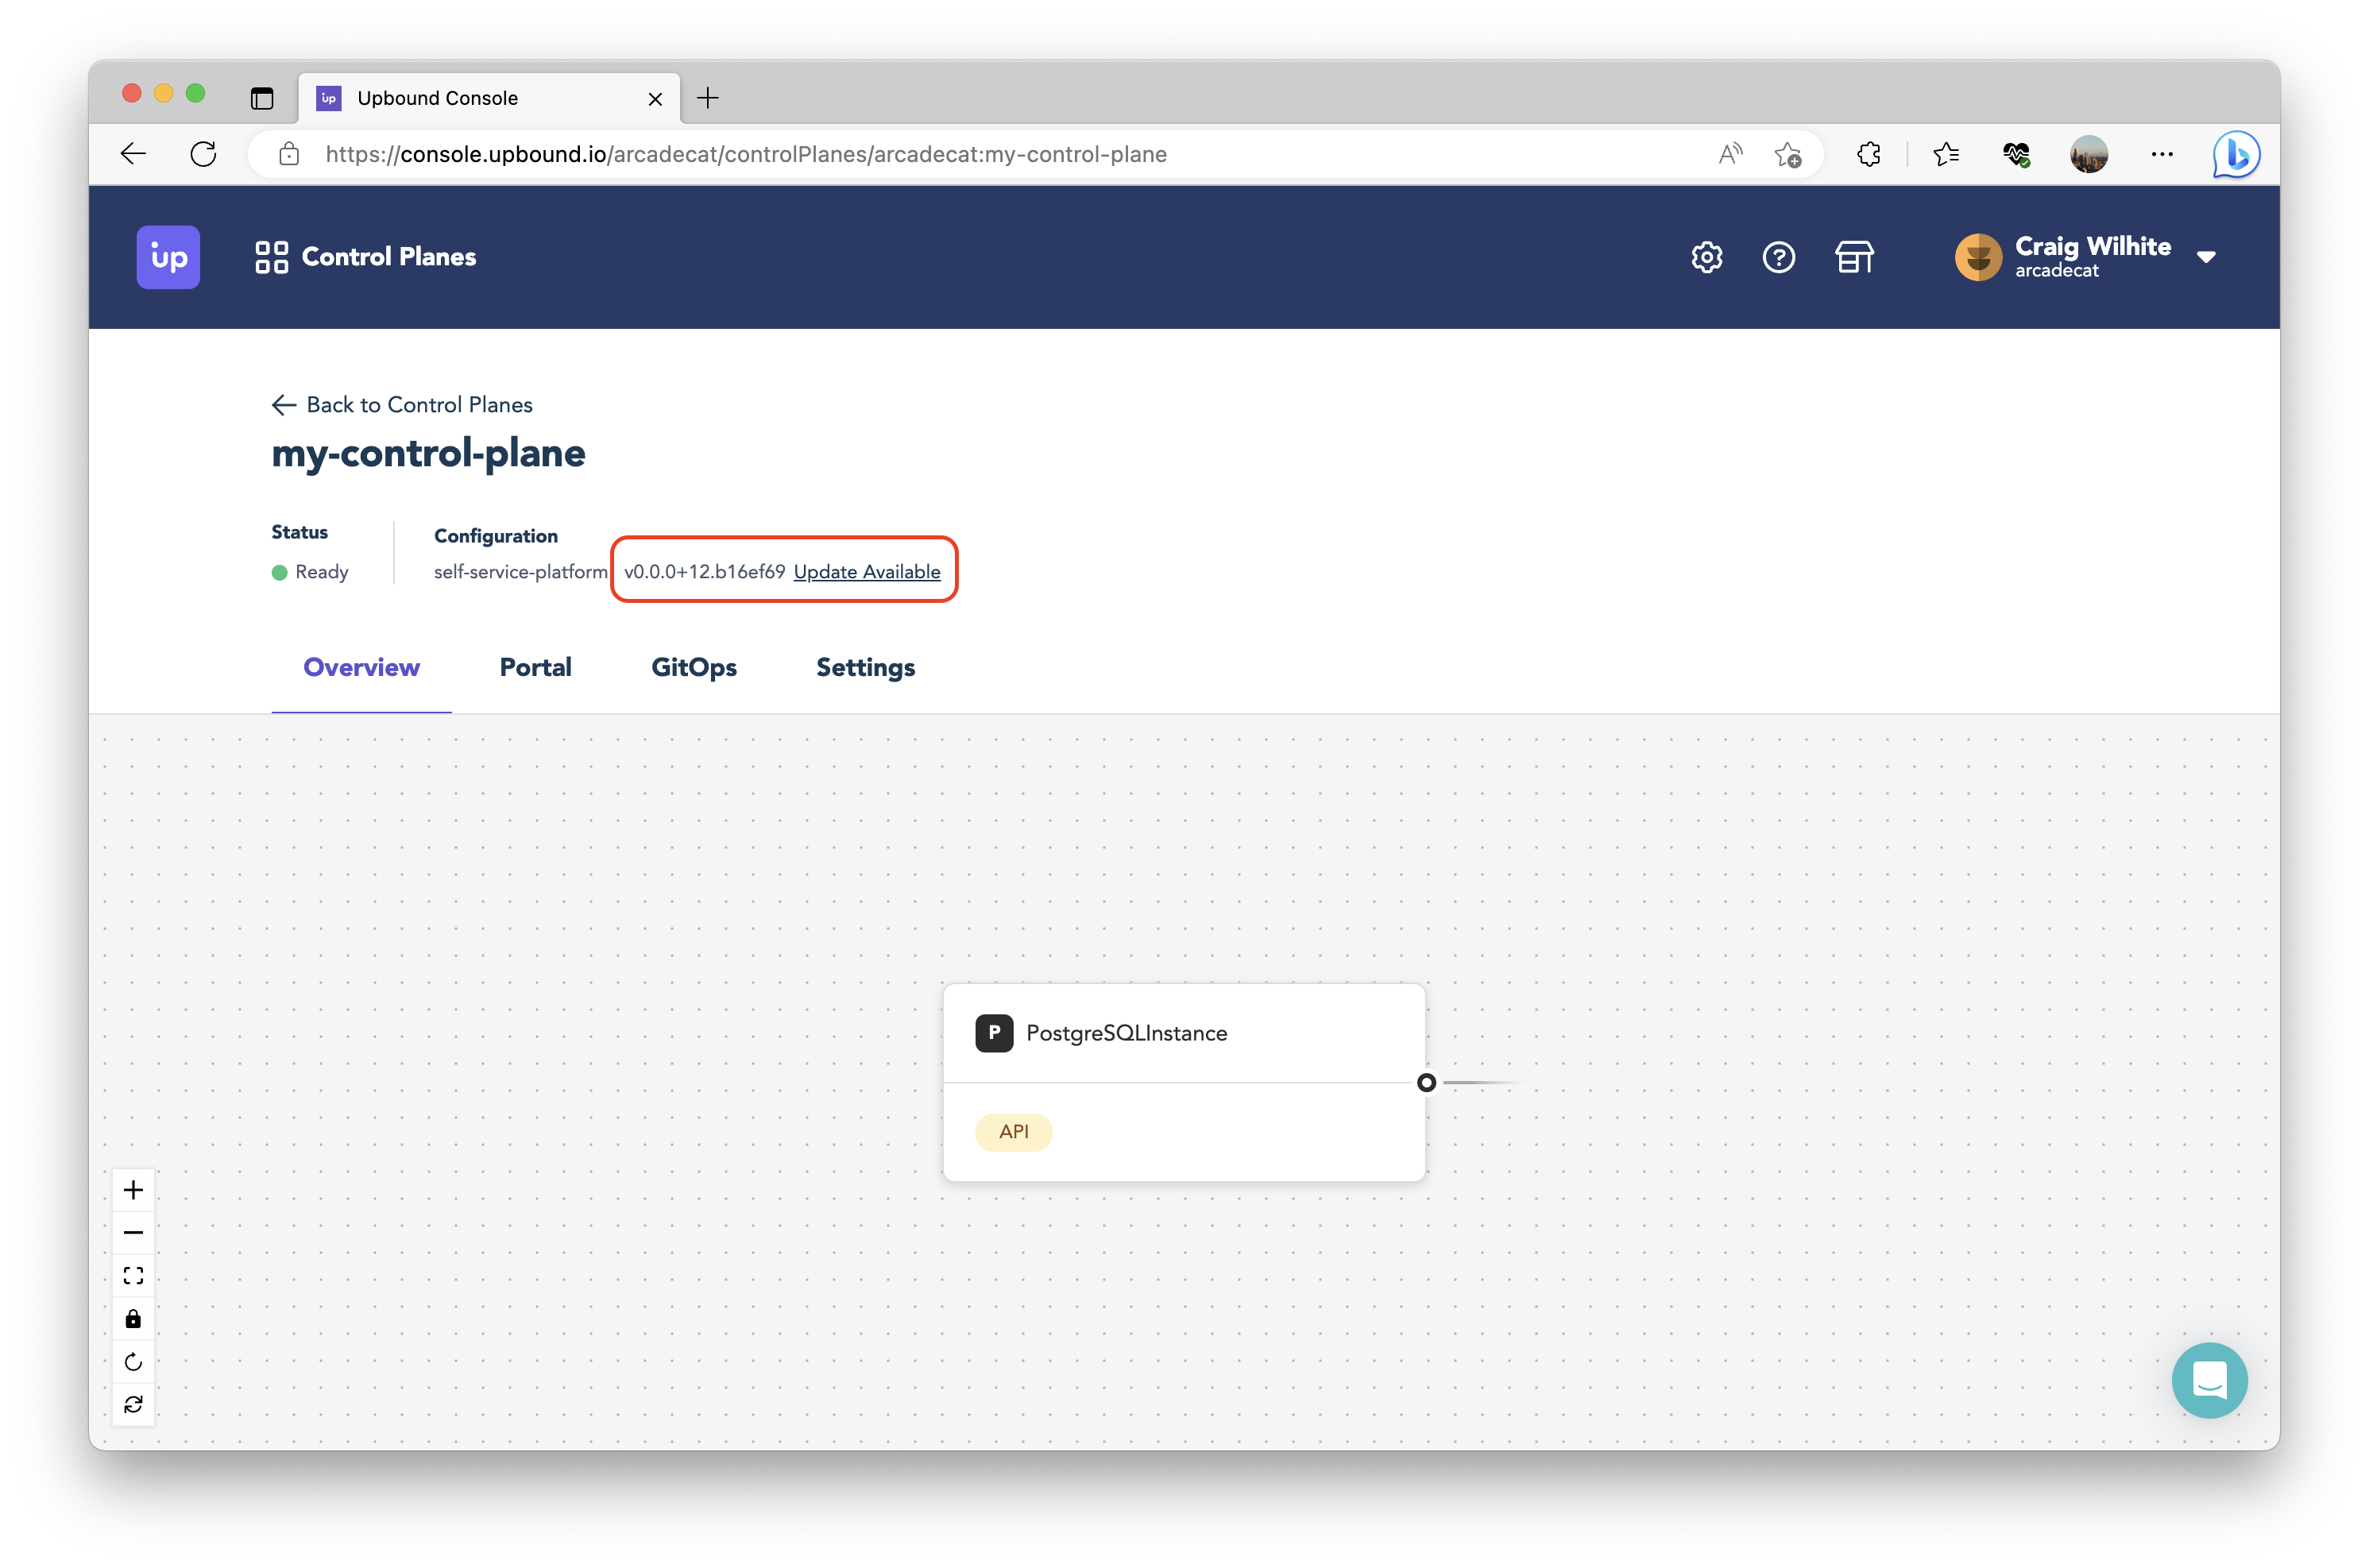
Once your control plane’s configuration has been updated, refresh the page to see the new resource card offered by your control plane.
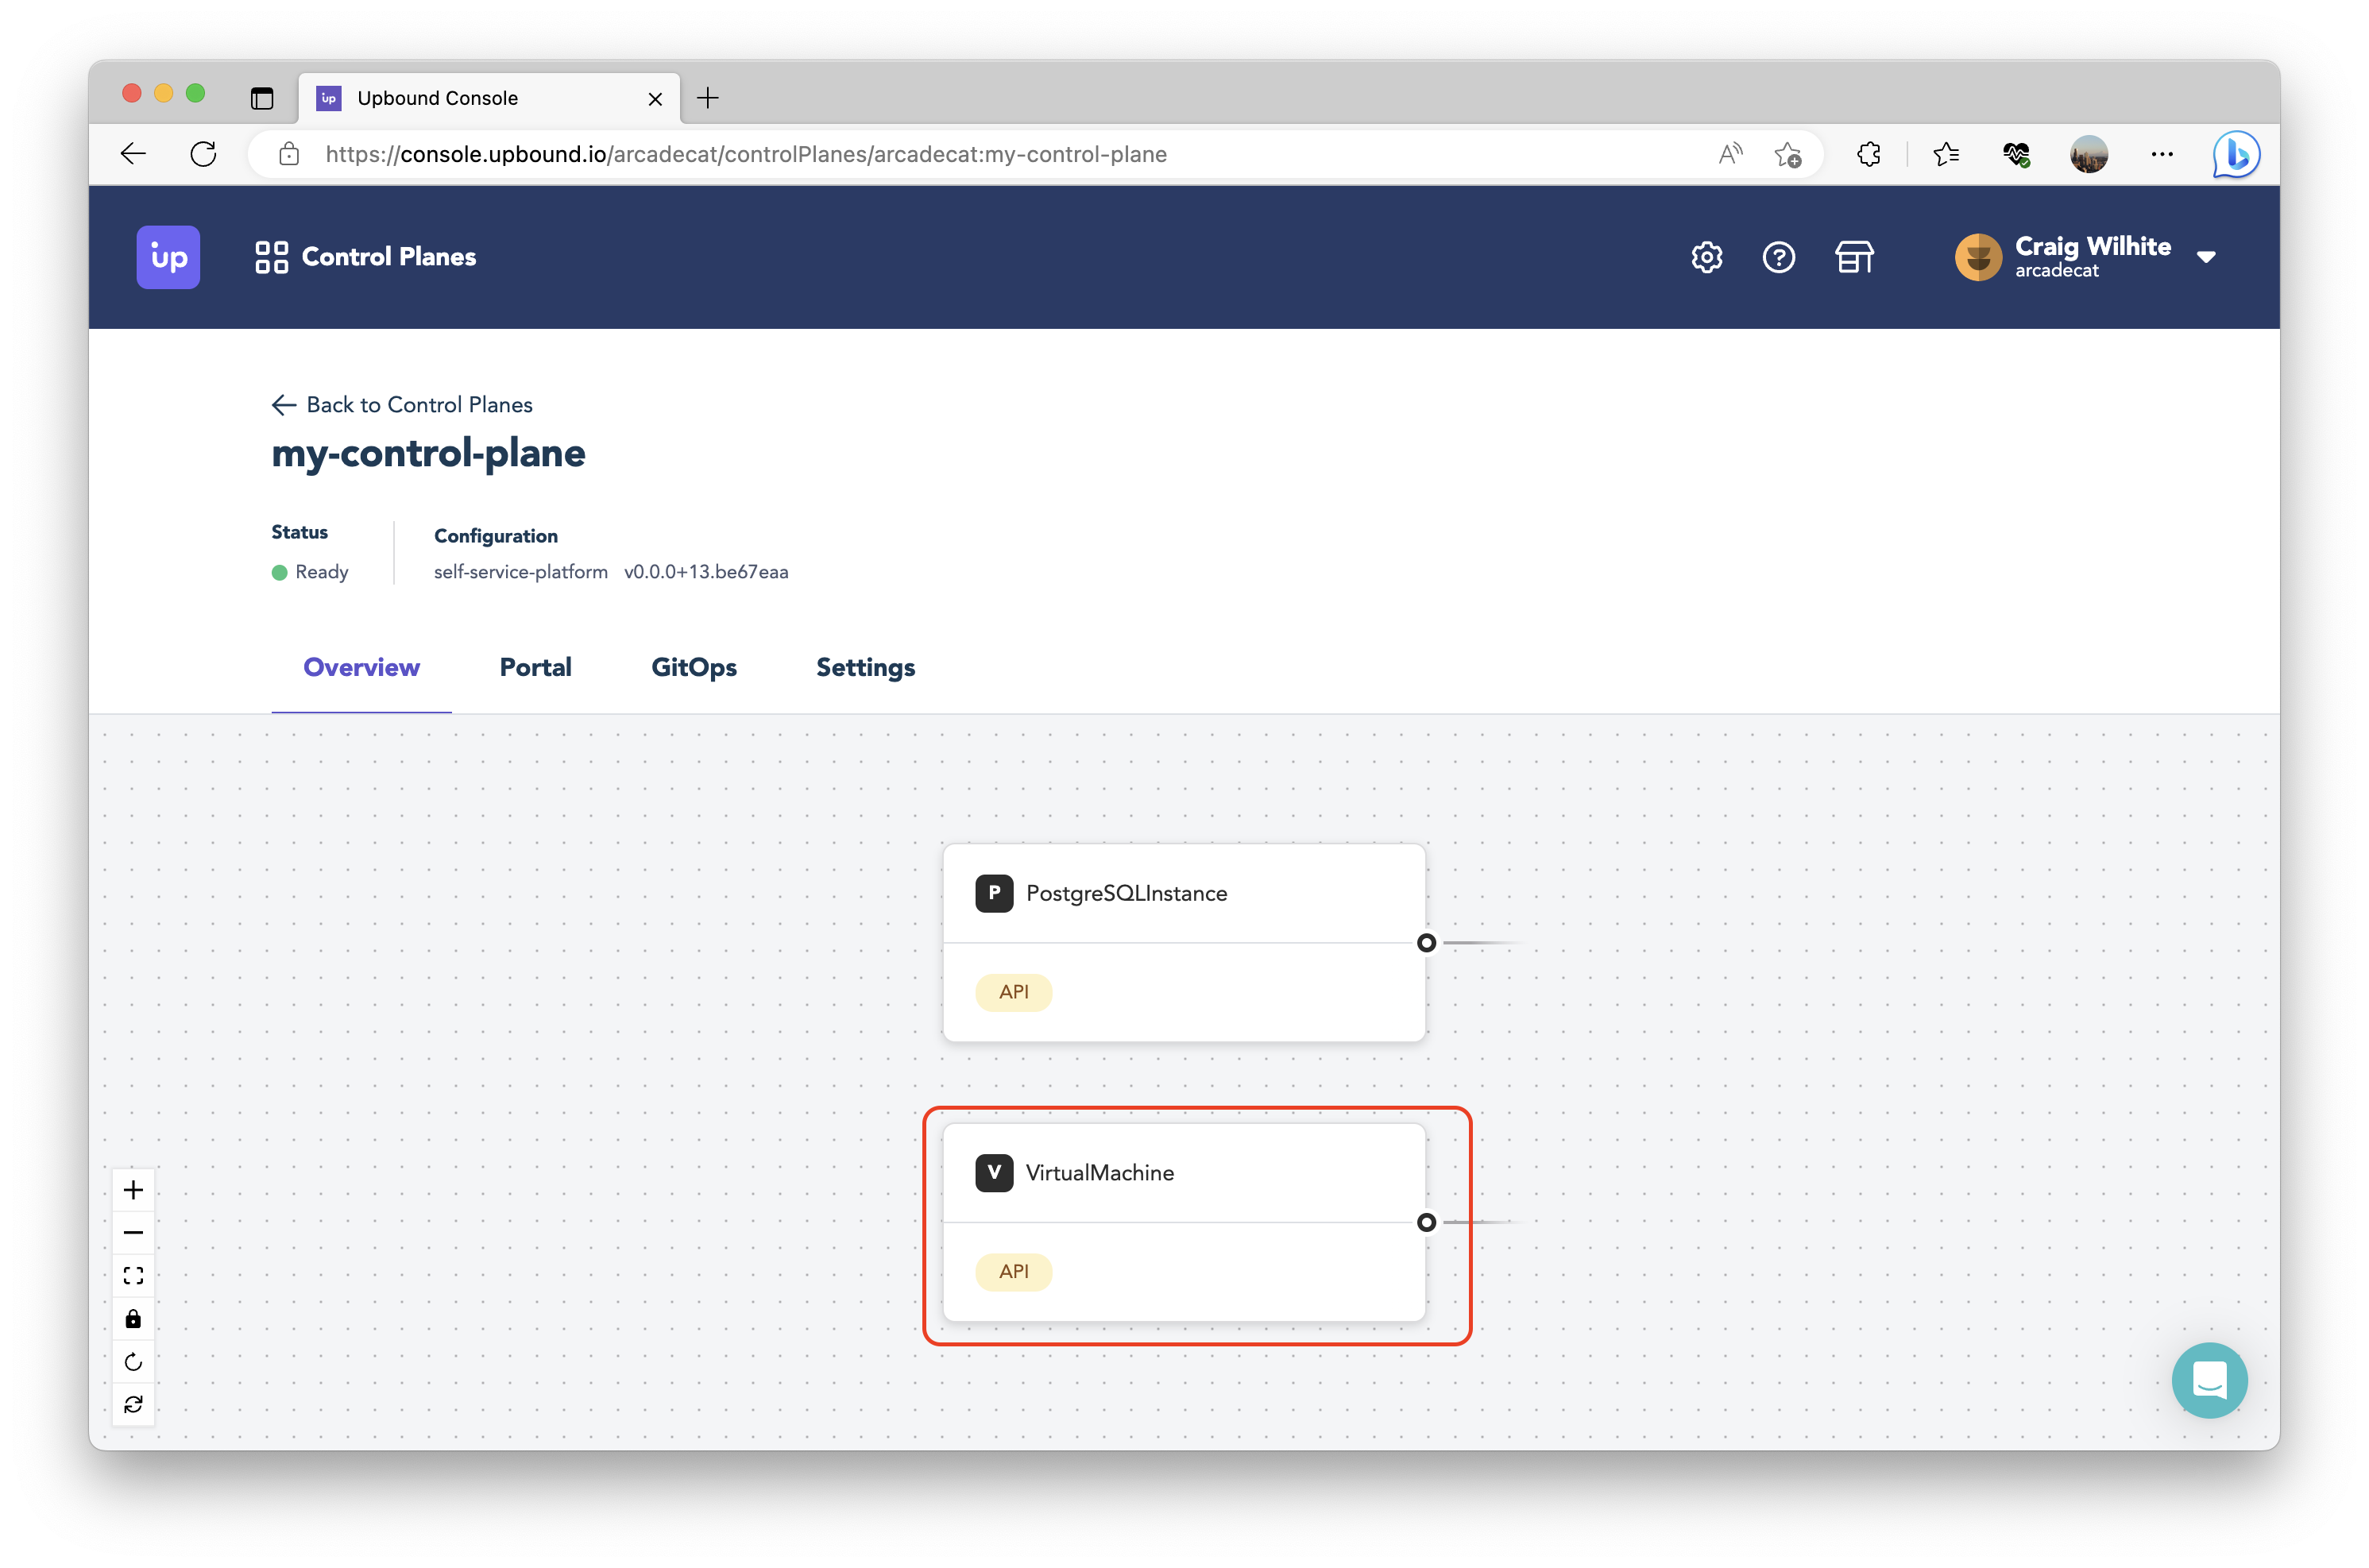
⚠️ Very important next step: the quickstart had you create a GCP Service Account configured with role access to CloudSQL (which your control plane assumes when making requests to GCP). You need to make sure to enable role access so the Service Account can create Compute Engine resources, too. After you’ve updated your Service Account’s role access, it's helpful to confirm auth is working by using your control plane’s portal to directly CRUD resources.
Self-service
Now that you have a control plane configured to offer and manage the resources you need for your organization, the next step is to build out how you want to enable self-service with it. There are a few ways you could do this.
Use a CLI
For organizations who are comfortable providing direct access of the control plane directly to their app teams, you can use a CLI directly (such as with kubectl). You can configure a kubeconfig for connecting directly to a control plane and afterwards run `kubectl apply -f claim.yaml` to create resources directly.
Use the MCP Connector
Upbound ships with a feature called the managed control plane (MCP) connector. This allows you to connect one or more Kubernetes app clusters (running somewhere in your own cloud environment) to your control plane (running in Upbound’s cloud environment). This feature was built for organizations that have app teams deploy to Kubernetes. It allows teams to bundle resource claims alongside their app deployment configurations and use GitOps to drive communication with your control plane. You can find instructions for how to set this up in this section of the Upbound docs.
BYO frontend
The MCP Connector approach involves setting up external Kubernetes clusters with supporting tooling to have a functional self-service flow. Another common approach that many organizations are adopting is building their own frontend, either custom-built in-house or by starting from a project such as Backstage. The control planes in Upbound are not opinionated; each control plane offers a Kubernetes API server endpoint that you can communicate with. You will need to connect the frontend for your self-service platform to the API endpoint of your control plane.
In a future blog post, we will explore the steps for how to implement these methods.


